Three blend modes: Mix / Multiply / Darken
In encode.frag, keyBlendMode controls how each new stroke blends with existing color:
| Mode | keyBlendMode | Shader logic | Visual |
|---|---|---|---|
| Mix | 0 | mix(existing, new, alpha) |
Linear blend by alpha; more overlap = more saturated |
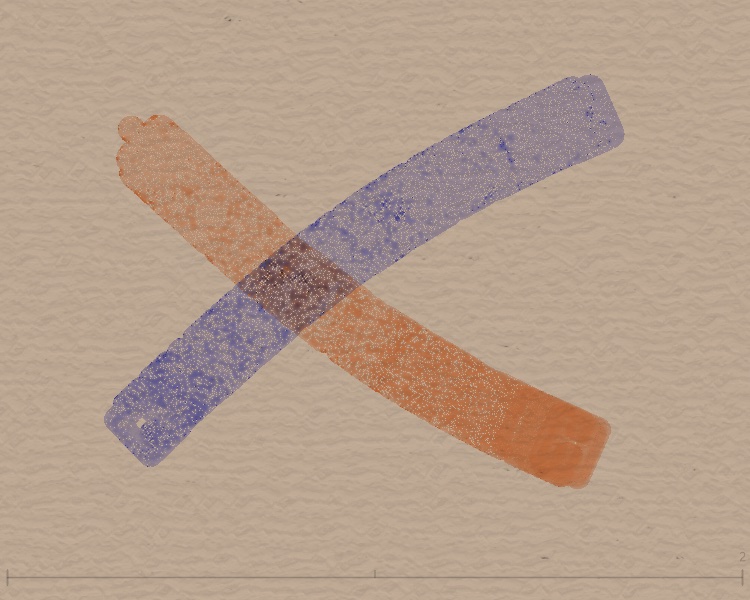
| Multiply | 1 | existing * new |
Color multiply; darker and calmer with overlap |
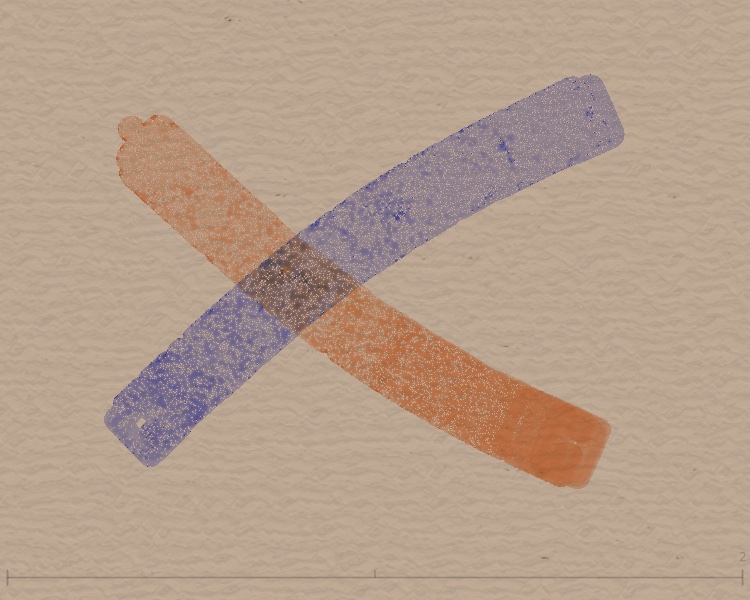
| Darken | 2 | min(existing, new) |
Per-channel minimum; keeps the darkest tone |
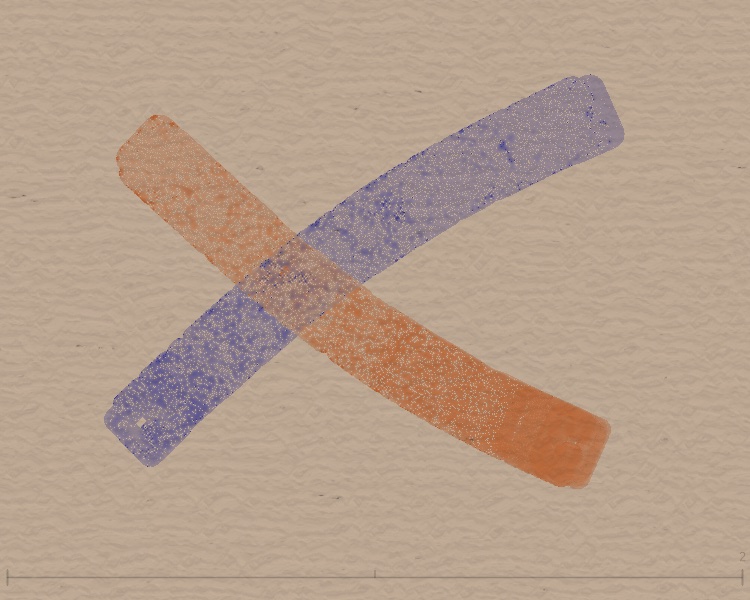
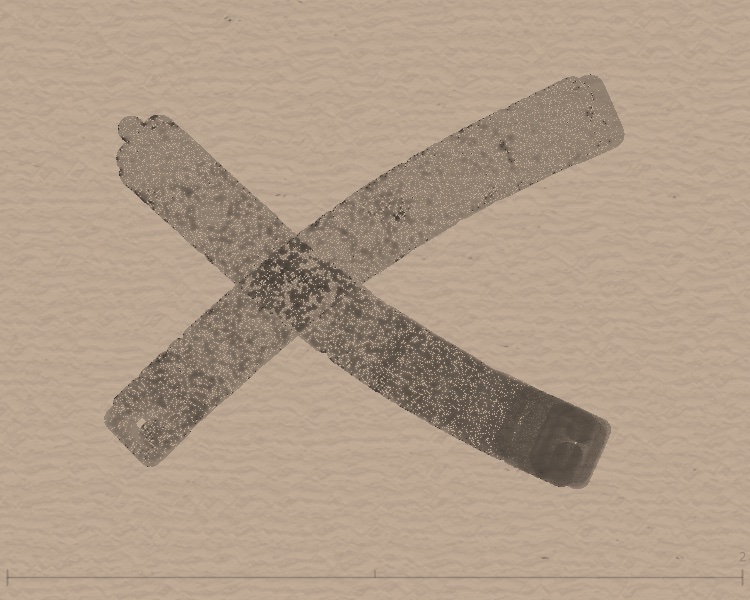
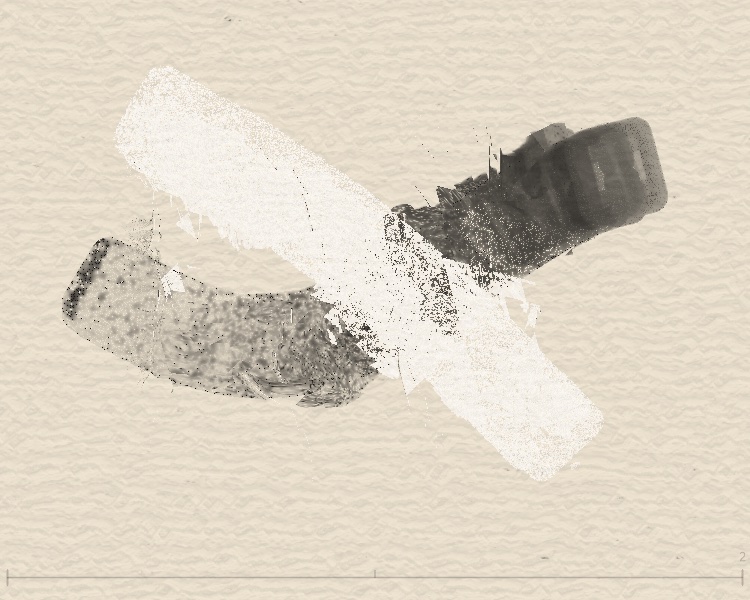
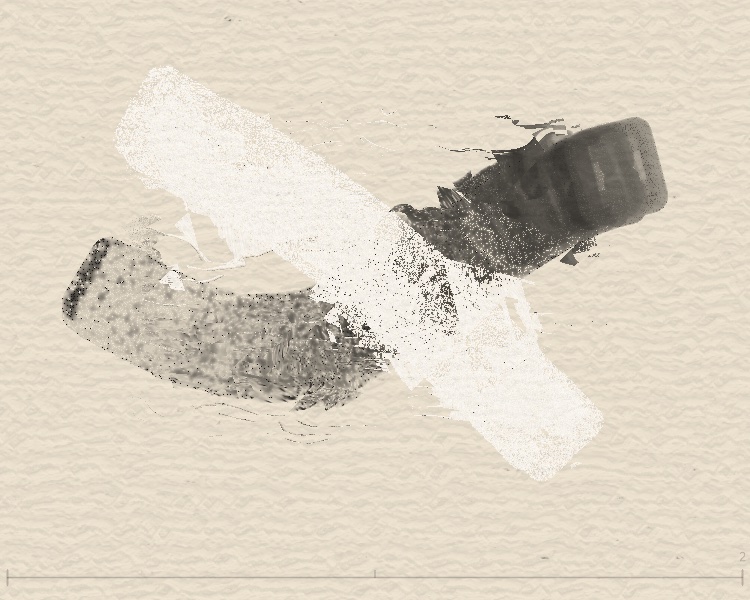
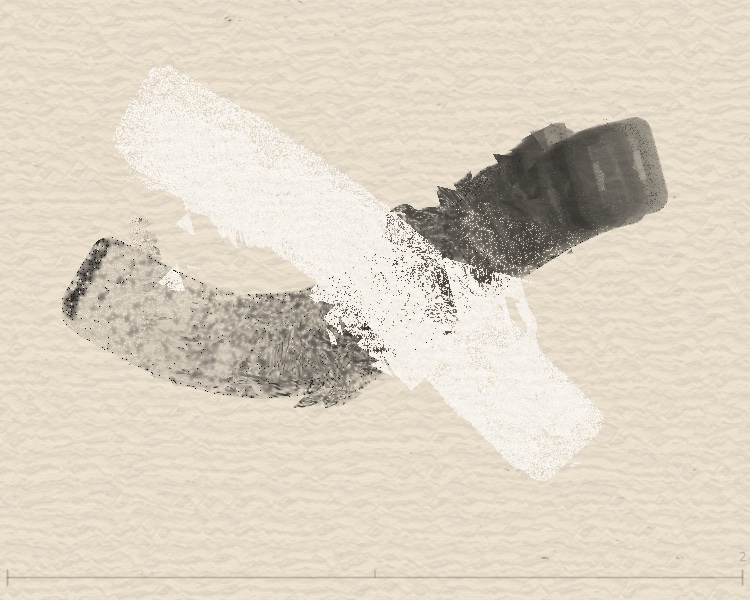
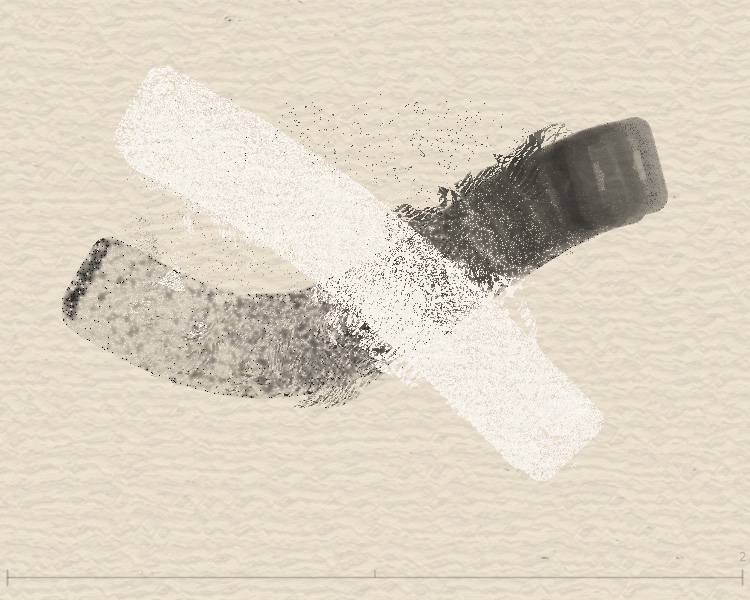
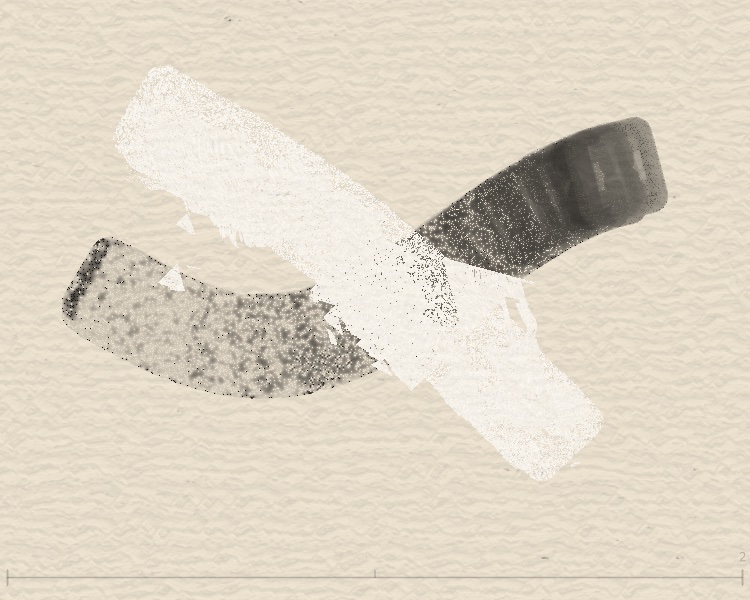
Below: orange + blue crossing, with each of the three blend modes:
Key shader code
Comparing blend effects across colors
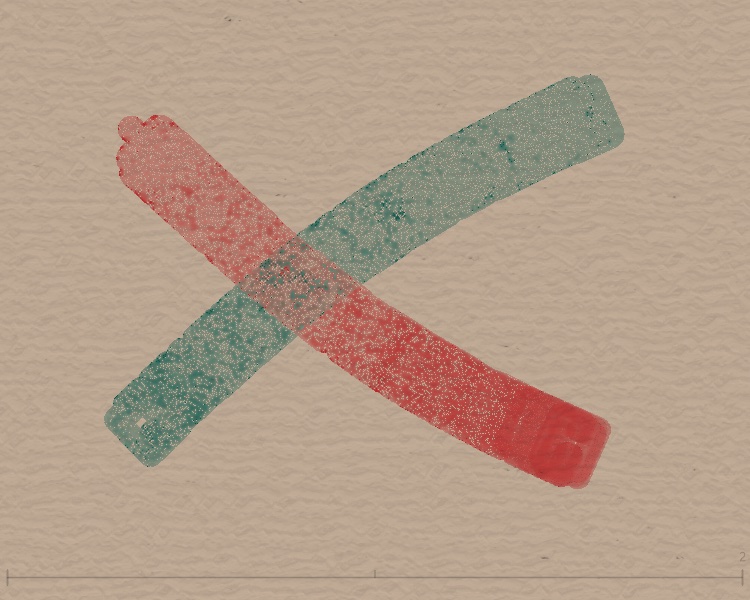
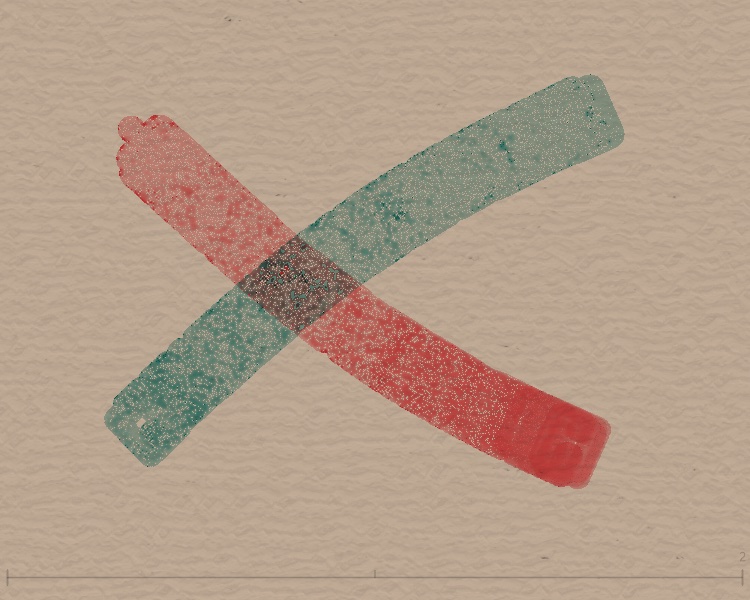
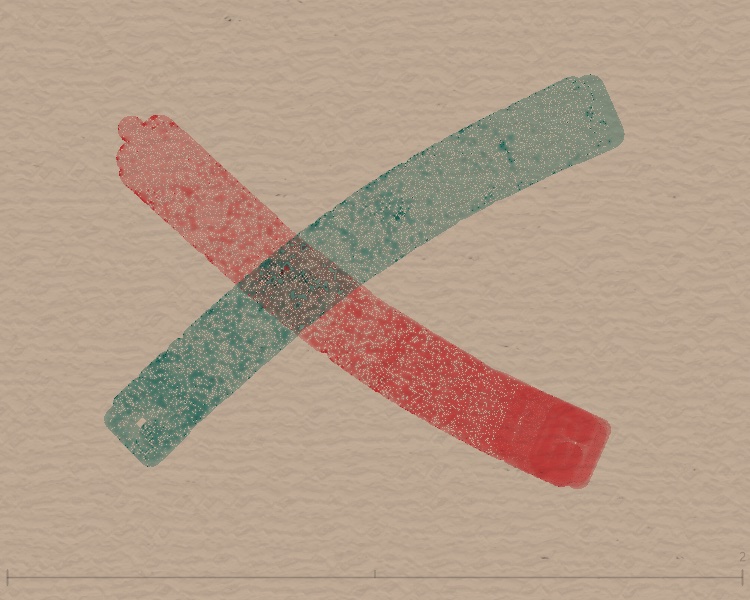
The same blend mode with different color pairs gives very different results. Below: three color pairs.
Orange + Blue
Red + Teal
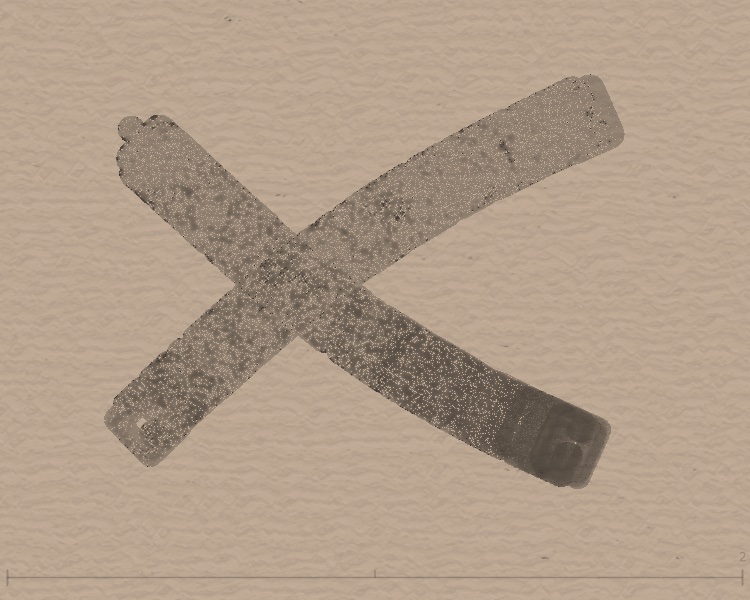
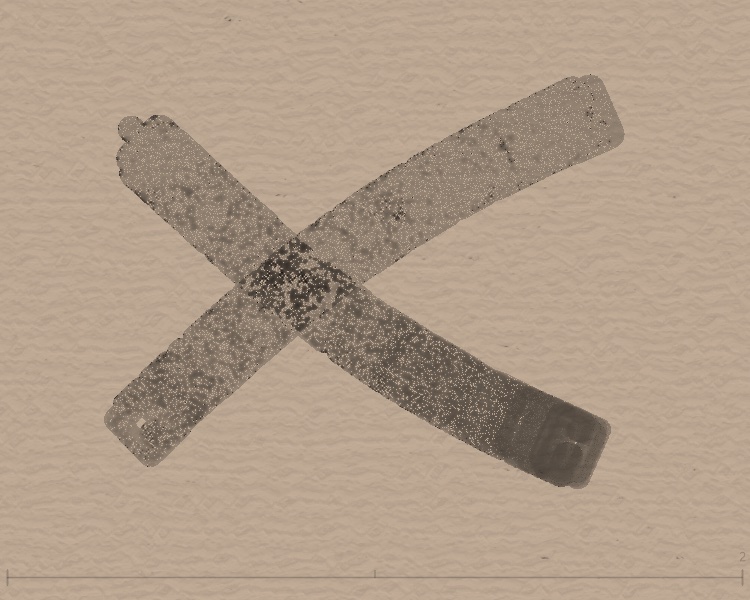
Gray + Gray (reference)
What to notice
- Complementary colors (orange/blue, red/teal) in Multiply get very dark where they overlap—RGB values multiply to small numbers.
- Darken keeps the minimum per channel; overlap often shows a third hue.
- Same color (gray/gray) shows how the three modes affect density without color distraction.
Why background color matters
In encode.frag, isWhiteBase controls this:
isWhiteBase
The shader checks whether the current pixel base is "close to white." If so, it uses additive-style blending (for white backgrounds); otherwise it uses keyBlendMode. That’s why Multiply and Darken look similar on pure white or black—white base uses the additive path.
Best practice
To see clear blend-mode differences, use mid-tone backgrounds, e.g. beige [222, 212, 195], warm gray [180, 160, 140], or cool gray [150, 160, 170]. Avoid pure white or black.
Path Rotation: twisting stroke direction
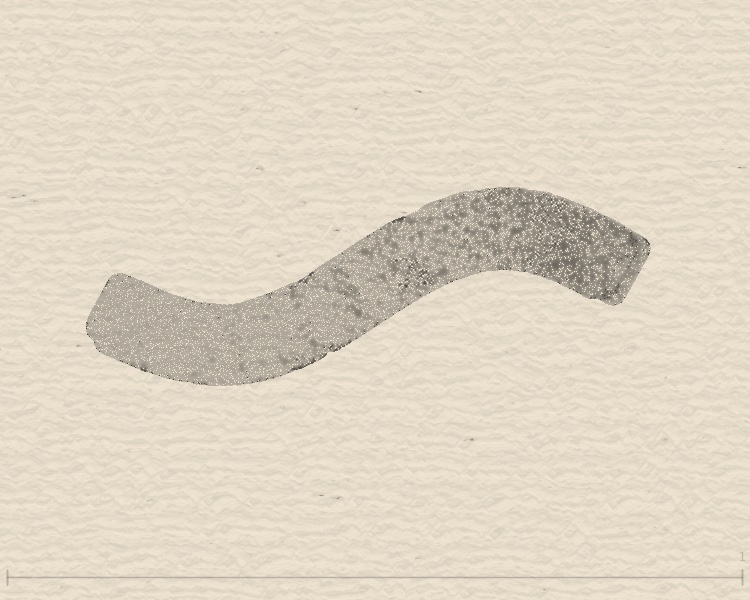
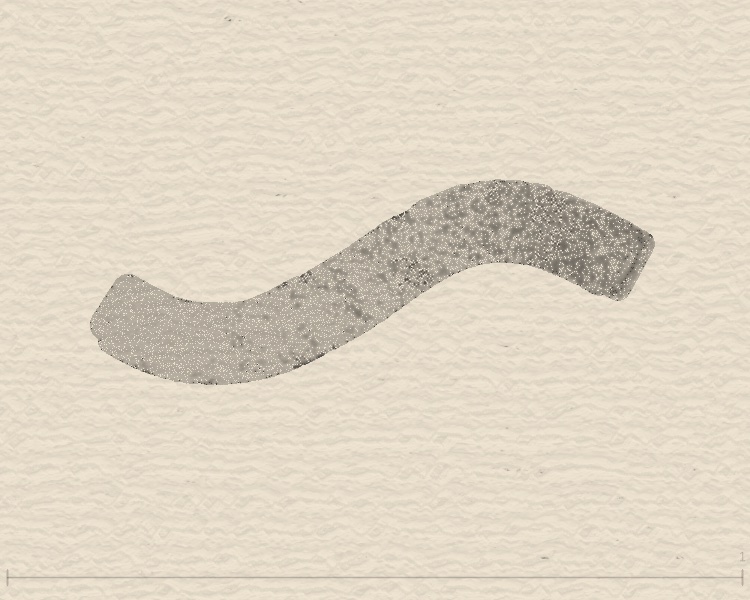
pathRotation controls how much noise perturbs stroke direction along the path:
| Mode | pathRotation | Effect |
|---|---|---|
| Mode 1 | 0 | No rotation; particles follow path |
| Mode 2 | 5–10 | Light perturbation, natural writing feel |
| Mode 3 | 10–25 | Strong twist; edges spread, wilder shape |
How it works
In the draw loop, each particle’s direction gets a Perlin-noise offset. pathRotation is the strength of that offset.
Flow Effect: eight blend types
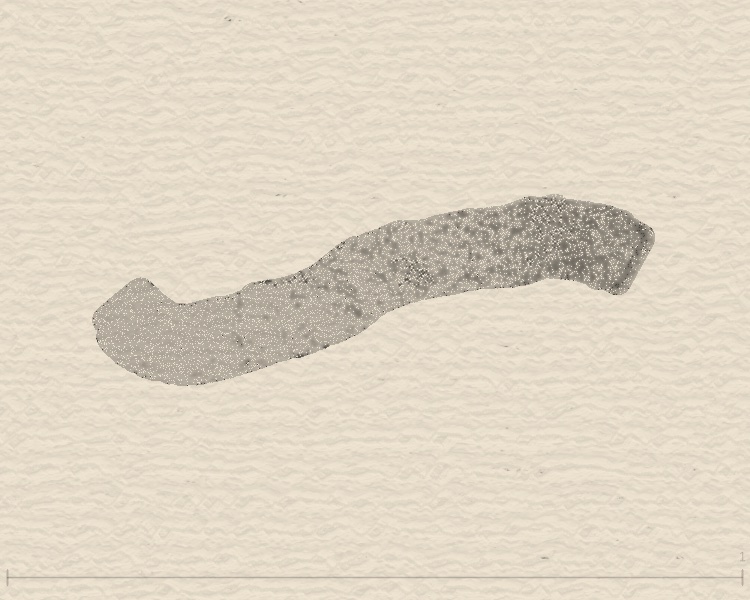
Flow is InkField’s strongest post effect (see Effects). Below, each blendType on the same strokes:


Per-type behavior
| blendType | Name | Displacement |
|---|---|---|
| 0 | Basic | Simplex noise + globalStyle strength |
| 2 | Concentric | Two random centers create radial ripples; uses mix() to override base noise—ripples dominate near centers, organic noise preserved at edges |
| 3/4 | Vertical/Horizontal | sin/cos/tan layers; directional texture |
| 5 | Crack Pattern | Dual-layer Voronoi/cellular noise; strong displacement at cell boundaries creates crack/fracture texture, base noise preserved inside cells |
| 6 | Mosaic | Canvas split into random-sized tiles, each with independent random offset—like broken tiles shifting apart, sharp grid boundaries |
| 7 | Vortex | Two vortex centers with polar rotation from original coords, Gaussian falloff—vortex dominates near centers, transitions to noise farther out |
| 8 | Cellular | Voronoi + Simplex; tissue-like |
Last Stroke Only: affect only the last stroke

Implementation
When flowEffectLastStrokeOnly is true, flow.frag uses flowEffectStrokeBounds so only pixels inside the last stroke’s bounds are displaced.
When to use
- OFF: Full-frame effect—apply Flow once after all strokes.
- ON: Per-stroke control—each stroke gets its own flow while earlier strokes stay intact.